|

Propshield
Industrial is applied in a quick and easy 2 coat bonding process. Unlike the
retail grease version
Propshield
Industrial
comes in the form of an easily applied paste enabling large
surface areas to be coated in minutes. The principal
application process is as follows:
0. Surface
Preparation
Propeller surface is prepared for application. Any growth is
removed and propellers are checked
to ensure they are in good working order. The propeller surface
needs to be taken back to bare metal using the appropriate
equipment. Once fully clean the propeller surface then needs to
be "keyed" ready to receive the product (this is also necessary
for new props). The surface can be keyed by using 80 grade wet
and dry sandpaper/emery paper or for larger props power tools
can be used, i.e. sander or angle grinder with sanding
attachment.

Fig. 1.1
1. First Coat
The first coat
can now be applied. The product comes in the form of a thick
paste which is initially brushed onto the propeller surface to
form a thin coat, the coat is then rubbed well into the keyed
metal by hand using a rag or for larger props using a powered
rotary polishing mop. To save time rather than brushing on a
first coat the product can be put straight onto a rag or a
polisher power tool (i.e. Bosch Polisher GPO 12 E Professional,
see figure 1.3 below) and rubbed directly onto the surface.
Either method produces a semi-transparent coating of Propshield
Industrial over the whole of the propeller surface. Using a
polishing mop (see figure 1.4 below) will produce a redder first
coat than using a rag (see figure
1.2 below).
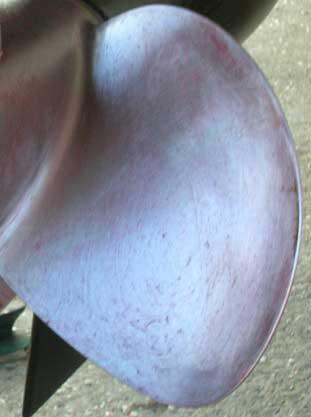
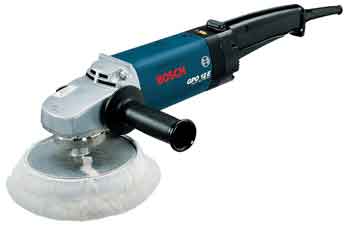
Fig. 1.2
Fig. 1.3
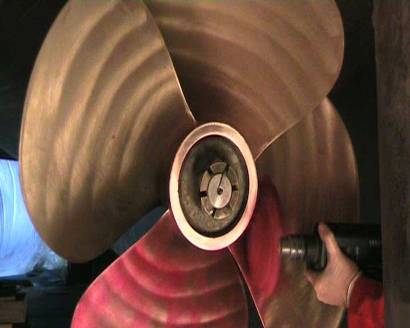
Fig. 1.4 (in this instance a drill is used with a polishing
attachment)
2. Second Coat
The second coat
can now be applied. Using a suitable sized brush, or a soft
bristled broom for larger propellers, a second much thicker
coating of Propshield is brushed on top of the first transparent
coat, see figure 1.5 below. This second coat needs to be thick
enough so the metal underneath is no longer visible, see figure
1.6 below. The coating doesn't need to be uniform in thickness
however if appearance is important then a blowtorch/lamp or heatgun can be used to quickly skim over the surface to produce
a pleasing even gloss finish to the coating (see figure 1.7
below).
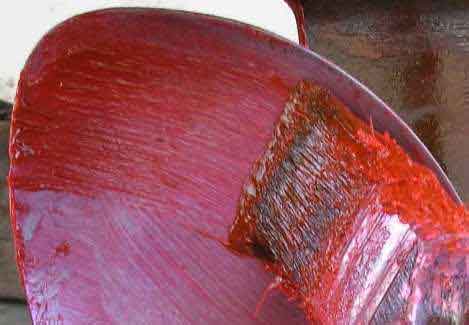
Fig. 1.5
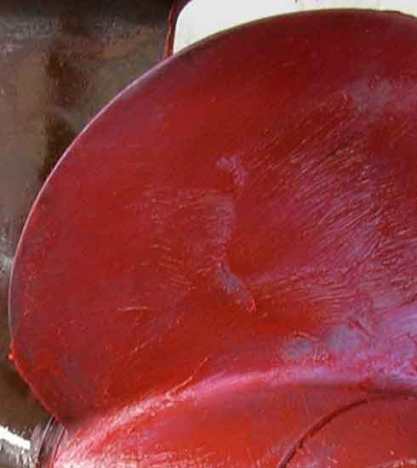
Fig. 1.6
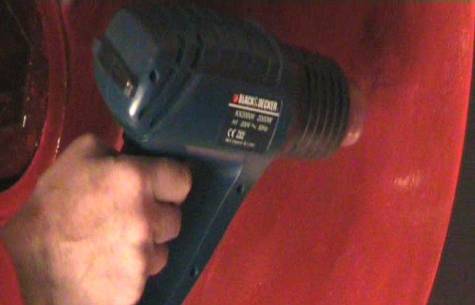
Fig. 1.7
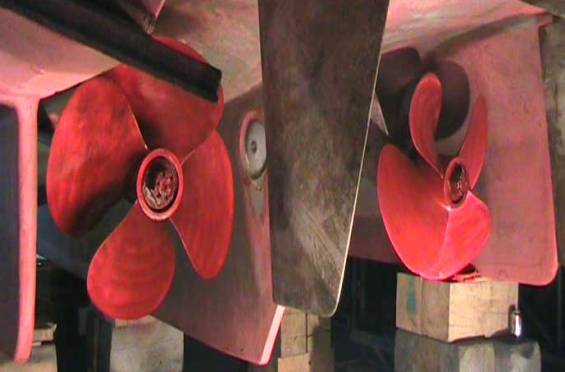
3. Bonding & Launch
The coatings are
now left to bond to the metal surface and to each other for
approximately 1 to 3 days depending on ambient temperature. The
vessel can then be launched.
|